
What you’ll need
Aside from the shelving system itself, you will need the following equipment to complete your installation:
· Fixings that are compatible for the type of wall you are fitting the shelves on to (further expanded in Step 1)
· Hammer
· Tape Measure
· Counterpunch
· Pencil
· Spirit Level
· Screwdriver
· Drill
· Stud Finder
· Cellotape
Step 1:
Just like when you are installing a conventional shelf, the installation method varies slightly depending on what type of all you are fitting it on. Solid brick or masonry walls will require Wall Plugs, while drywall or plasterboard walls will require Drywall Anchor Plugs.

Step 2:
After you have established which type of wall you are working with, now you need to check if there are any objects of concern behind the wall. Use your Stud Finder to detect if there are any pipes, cables or other similar objects behind the wall you are planning to install the shelf on to, if something is detected you will have to reconsider the location of your installation.
Step 3:
Now it is time to mark out where your new Floating Shelf will go. Firstly, place the brackets of the shelf on the wall the correct position and at the right height, making sure you check with a spirit level that the bracket is straight. Once you have done this, mark the position of the fixing holes in the bracket with your pencil. Check the position of the markings with your spirit level one last time.
Step 4:
For ease of installation, take your counterpunch and hammer and make a small indentation in the same place as your pencil markings. This extra step will make it easier to operate your drill and screwdriver and will prevent the tools from sliding around on the wall when in use.
Step 5:
Next is installing the fixings that will hold your Floating Shelf and bracket to the wall. If you are installing a shelf on to a solid brick or masonry wall, it is simply a case of drilling holes where your pencil markings and indentations are, then carefully tapping your Wall Plugs in using your hammer.
In the case of plasterboard or drywall, technique varies slightly. This involves covering the pencil markings and indentations with the cellotape, then screw in the fixings. The cellotape is used to prevent damage to the plaster while the screws are being placed in to the wall.
Step 6:
The next step is to fit the shelving bracket to the wall. A Floating Shelf Bracket will differ slightly to conventional brackets, but the process is similar. Just line the bracket up with the fixing holes, insert your screws and tighten them in to place, making sure they are tight to the wall.
Step 7:
With your fixings and brackets now in place, you can now place the shelf on to the bracket. In the case of Floating Shelves, there should be additional holes and fixings to place underneath the shelf to ensure it stays in place and does not fall off of the bracket. Insert these fixings in to the correct holes then tighten the screws correctly. After this step, installation is now complete.

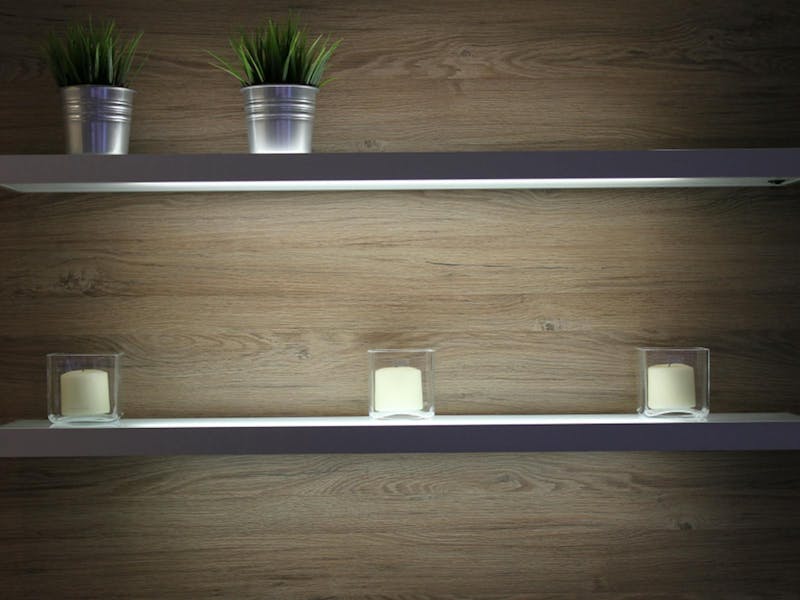
Next time you’re looking to upgrade your storage solutions with some Floating Shelves, take a look at our easy to follow guide for the most fuss free installation process.
Click here to find out more about our extensive range of Shelving & Brackets, and here for our range of Storage Solutions.